Showing posts with label cooking classes. Show all posts

Friday, September 16, 2011

Coming soon: our new website

For the last couple of weeks we have been working diligently to put together a new website that will include the best aspects of all our online work: the blog, our current site, our class schedules and our social media outlets. We are super excited about being able to offer you, our customers and friends, all this great content in one location.

Because of that, our blog posts here have slowed to just our Recipe Wednesday posts. As we move everything over to the new site (which will be at our current location http://www.acooksplace.com/) we will add back our Cooking Tips posts and some other post of interest to our foodie readers.

So keep checking our blog here and watch our Facebook page for the announcement of the launch of our new website. And if you have any cooking or food questions, please comment here or on our Facebook page or send us an email. We might just use it as one of our first Cooking Tips on the new site!

Happy Cooking!

Tuesday, August 30, 2011

Recipe Wednesday: Pesto Alla Genovese

Today's recipe comes from our Summer Italian class with Denise Backstrom.
PESTO ALLA GENOVESE

2/3 c pine nuts
¼ c olive oil
2 garlic cloves, peeled & minced
2/3 c extra virgin olive oil
3 c fresh basil leaves, firmly packed
¼ c grated parmesan cheese
1 tsp salt, or to taste
1 lb. Pasta or gnocci

Toast nuts in 350 degree oven, about 5 min. Place nuts, garlic, ¼ c olive oil, & basil leaves in food processor or blender; process until evenly pureed, about 15 sec. Transfer mixture to a bowl. Slowly stir in cheese, salt, & 2/3 c extra virgin olive oil. Mix with hot pasta or gnocci. If pesto is to be heated, heat very gently. Makes 1 ½ c pesto, enough for lb. Pasta, cooked & drained.

Wednesday, August 24, 2011

Recipe Wednesday: Bananas Foster Cheesecake


Buy online.
Today's Recipe Wednesday comes from our Tupelo Country Club Invitational Ladies Cooking Class with Chef James Allen, Executive Chef of the Tupelo Country Club. We held the class last August.

Bananas Foster Cheesecake

The idea behind this dessert is to make a topping that will complement the cheesecake and save you time and effort in the process. The cheesecake is store bought but that is nothing to turn your nose up at. There are plenty of companies that make millions of dollars each year by selling pre-made cheesecake and if they weren’t good, they wouldn’t be selling any. If you have a cheesecake recipe that you love go ahead and make it then top it with Bananas Foster sauté.

For the Bananas Foster:
2-4 Bananas, depending on your love, sliced
2 TB Butter
½ cup Brown Sugar
Zest from one orange, one lemon, and one lime
Juice from the zested orange, lemon and lime
¼ cup Banana Liqueur
¼ cup Spiced Rum

In a skillet melt the butter and then add the bananas. Cook until the bananas begin to fall apart and add the brown sugar, the zests and the juice. Once the juices begin to evaporate, add the flammables and back up. If you are cooking on a gas burner a flame will rise. If you are hesitant about fire remove the pan from the heat before adding the alcohol and pour it in off the heat. Let the pan rest off the heat a little while so the alcohol can evaporate then return the pan the heat and continue cooking a for a couple minutes. If you are not hesitant and do not like your eyebrows, or your guests eyebrows, then flame on. I would recommend having a towel in your hand just in case there is a flare-up or spillage. Pour the mixture on top of the cheesecake slice and enjoy!

Thursday, August 18, 2011

Cutting Boards: A Kitchen Must Have

Cutting boards protect knives and provide sturdy surfaces for cutting. Consider having two or three cutting boards in your kitchen to cut down on the possibility of cross contamination. Some cooks color code using one color board exclusively for meat and another for vegetables and breads.

Check out our selection
of cutting boards in stock and online.

When choosing the type of board, wooden, plastic or glass, that you want to use, think about how you will use the board. While wooden boards are easier on knives and limit the cutting sound, they also are harder to clean, can not be put in the dishwasher and may harbor bacteria. Consider using a wooden board only for vegetables and breads.

Glass boards look beautiful but are harder on knives and make loud cutting noises. Plus you have an increased risk of the board breaking if it's dropped.

Plastic boards can be cleaned easily in the dishwasher and are a great board for cutting meats and other foods. But throw them away if they develop cracks where bacteria can hide.

Regardless of the board you use, make sure to clean and dry completely before you place back in your cabinet.

Wednesday, August 10, 2011

Recipe Wednesday: Mixed Vegetable Quiche with Cheddar and Parmesan

Today's recipe comes from our Learning at Lunch Quiche with Jody Lehman from April of 2009.

Mixed Vegetable Quiche with Cheddar and Parmesan

• (9-inch) refrigerated pie crust
• 1 (10-ounce) package frozen chopped spinach, thawed and drained
• 1 cup cooked stir-fried vegetables
• 1 cup part-skim ricotta cheese
• 3/4 cup grated Cheddar
• 1/4 cup low fat milk
• 2 eggs, lightly beaten
• 2 teaspoons Dijon mustard
• 1 teaspoon dried thyme
• 1/2 teaspoon salt
• 1/4 teaspoon ground black pepper
• 1 tablespoon grated Parmesan

Directions

Preheat oven to 375 degrees F.

Press pie crust into the bottom and up the sides of a 9-inch, removable-bottom tart pan (or 9-inch pie pan). Blind bake for 5 to 7 minutes.
In a large bowl, combine spinach, stir-fried vegetables and place on top of crust. In another bowl combine ricotta, cheddar, milk, eggs, Dijon, thyme, salt, and black pepper. Mix well. Spoon cheese mixture on top of vegetable mixture in prepared pie crust and top with Parmesan.
Bake 20 minutes, until a knife inserted near the center comes out clean and crust is golden brown.

Monday, July 25, 2011

Cooking Tip: Boiling vs Simmering

Need to measure your boiling temperature?
Check our selection of cooking thermometers.
Are you simmering or boiling? Many recipes will instruct you to bring a liquid (usually water) to a boil and then reduce heat to simmer. The main reason for this method is to compensate for the drop in temperature when food is added. While both techniques are very similar and may be used in the same recipe their effect on foods are very different.

Simmering or a "gentle boil" happens at temperatures between 185 degrees and 205 degrees Fahrenheit. This method of cooking allows meats and other foods more time to cook without overcooking. You'll recognize the simmer by the occasional small bubbles that rise to the center. Simmering requires less energy from your appliances and keeps many proteins from becoming tough.

Boiling is reserved for liquids, typically water, at the temperature of 212 degrees. Once a liquid reaches a higher temperature, it's transformed into steam. You'll recognize it by the rapid, rolling, large bubbles rising to the surface. Boiling may be used on green vegetables to cook them quickly and keep their texture and color. It may also be used to keep foods like pasta moving quickly so it doesn't stick together or get soggy. Boiling may also be used to reduce sauces.

Monday, July 11, 2011

Fresh vs Dried Herbs and Spices

Adjustable measuring spoons
make measuring spices easy.
We all know fresh is best. But what happens when your recipe calls for fresh spices and all you have on hand is dried? In most instances, you can substitute 1 teaspoon of a dried herb or spice for 1 Tablespoon of the fresh. Some recipes just aren't the same without fresh ingredients like fresh basil in a Caprese salad. But in most cases, you can easily substitute the dried version of a spice in place of the fresh. Keep in mind that dried spices tend to loose some flavor over time, so if that container has been in the cabinet for a while you might add a slight about more than the day after you bought it.

Have fresh herbs left over? Add it to a mild oil or vinegar to use as infusions for later cooking.

Wednesday, June 29, 2011

Recipe Wednesday: Jody's Fruit Smoothie

Jody’s Fruit Smoothie


1 cup frozen strawberries
1/3 cup frozen blueberries
2 bananas, peeled and chopped
1/2 cup Orange Juice
1-1/2 cups vanilla yogurt

Combine fruit, juice & yogurt. Blend until smooth, pour into a glass
And serve.

Wednesday, June 22, 2011

Recipe Wednesday: Smoked Salmon and Asparagus with Cream Cheese

Thought we'd try a little sushi recipe today taken from our Simply Sushi class led by Joshua Simpson.

Smoked Salmon and Asparagus with Cream Cheese

1 nori sheet
1 cup sushi rice
1 tsp Wasabi paste
2 tbsp cream cheese
4 slices smoked salmon
4 asparagus spears blanched and chilled
Fresh dill minced

Spread sushi rice over nori sheet, flip the roll over so the nori faces up, and with your index finger smear Wasabi and cream cheese over the rice. Arrange 2 salmon slices with two asparagus spears back about 1-1/2” from the end nearest you, allowing asparagus to poke out at each end. Roll until you reach the end, press tight to make sour the roll is tight as possible.

Monday, June 20, 2011

Cooking Tip: Vinegar

Cooks use vinegar to make pickles, deglaze pans, marinate meats, and add tang to vinaigrettes, sauces, and even desserts. Vinegars are made by adding bacteria called Acetobacter aceti to diluted wine, ale or fermented fruits or grains. This creates acetic acid, which gives the liquid a a sour flavor. Unopened, most vinegar will last for about two years in a cool, dark pantry. Once opened, vinegar should be used within three to six months.


But which vinegar should you use? Many cooks prefer old-fashioned white vinegar for pickling. It allows the flavors of your spices and main pickling ingredient to take center stage.

Vinegars add flavor when creating a vinaigrette, so choose something with a little more flavor than the neutral white vinegar. At the very least, use a white wine vinegar. But the flavors and types of specialty vinegars, like balsamic, sherry or raspberry, are as varied and diverse as can be. Cider vinegar is made from apples and is a good choice for fruity vinaigrettes. Balsamic vinegar, sweet, dark and aged in specially treated wooden casks, is one of the most sublime vinegars you can find. Another interesting choice, especially for Asian-flavored vinaigrettes, is rice vinegar, which is made from fermented rice.

Friday, June 17, 2011

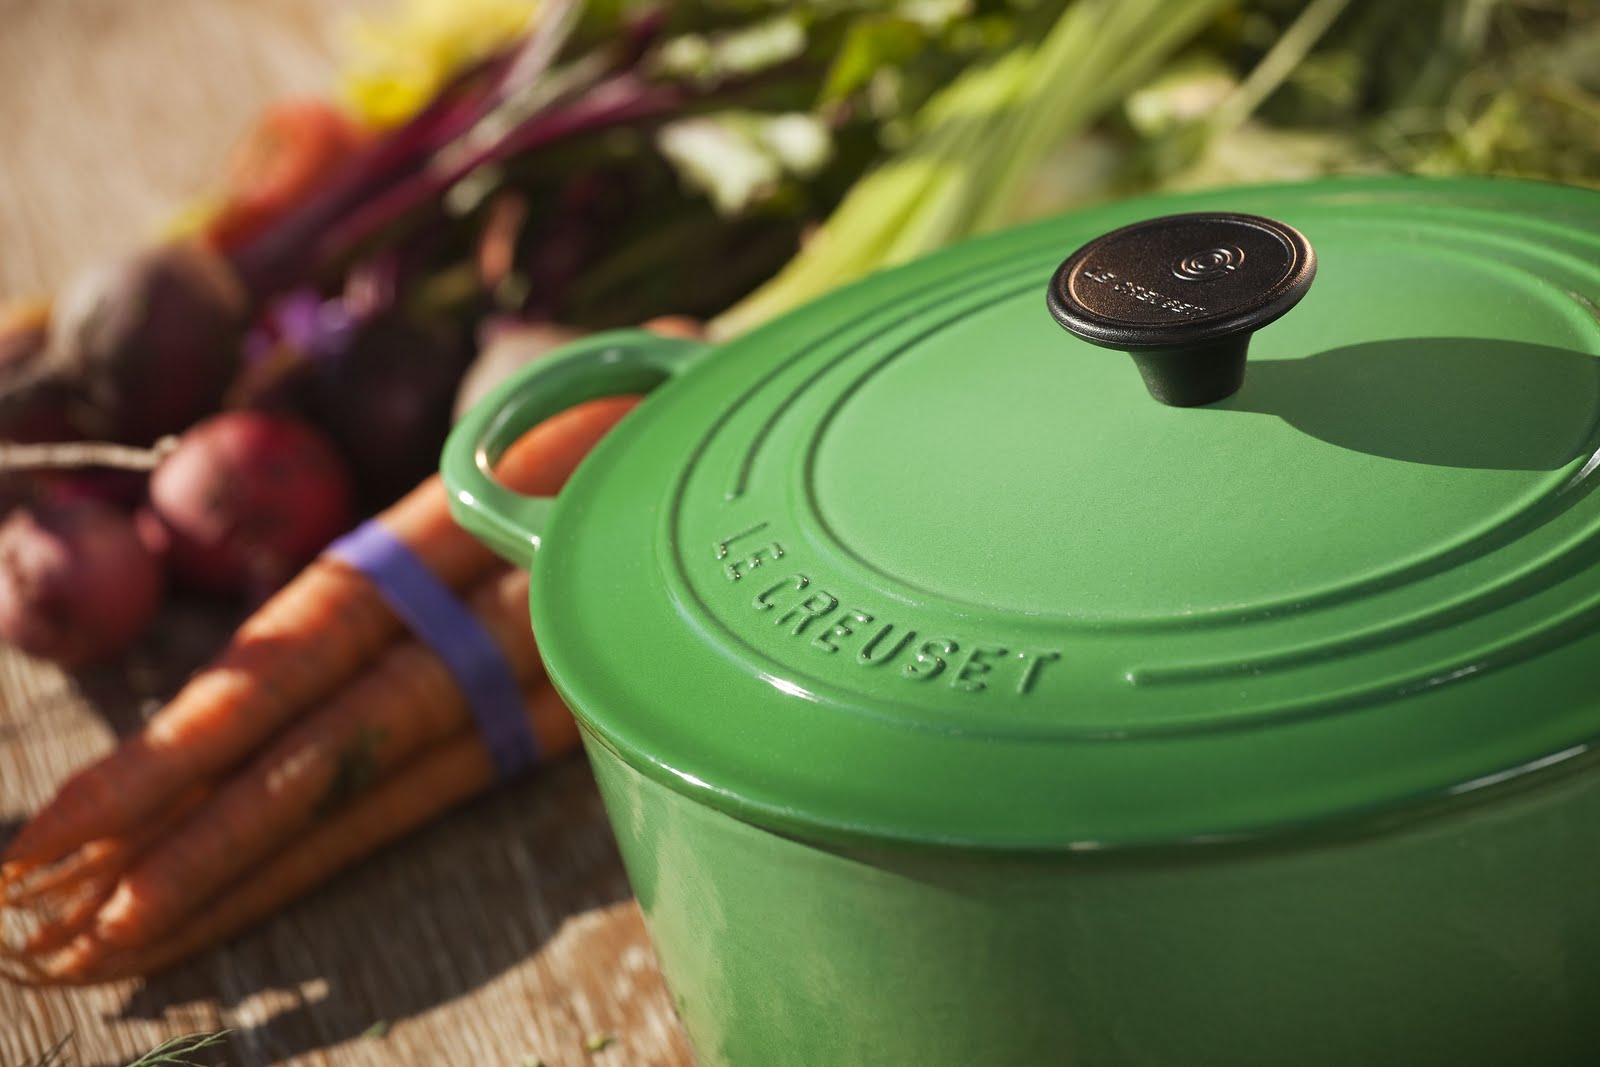
Check out Le Creuset's newest color: Fennel

Check out Le Creuset's newest color: Fennel. Create a full collection of the color or mix it in with your current collection for a custom look all your own.

Le Creuset offers fennel in cast iron, stoneware, and a variety of accessories.  Associated with the finest French style and cuisine, Le Creuset has a history of quality cookware for your everyday needs.

Need more information about cookware available? Check out our online store to see additional colors and styles.

Wednesday, June 15, 2011

Recipe Wednesday: In The Bag Barbeque

With Father's Day on Sunday, I thought we'd give you a recipe perfect for dad! It comes from our From Smokin’ with Steve Cooking Class in 2007. (And don't forget, you can find Steve's sauce at A Cook's Place.)

IN THE BAG BARBEQUE

3-4 lb pork loin
¼ cup Steve’s Magnificent Grilling Sauce
½ can beer (but don’t let the other half go to waste)
2 T. Steve’s Magnificent Grilling Spice
1 tsp. Liquid smoke (heaping)
1 cup your favorite Steve’s barbeque sauce

Pre-cooking prep:
Rub 1 tablespoon of the grilling spice into pork loin and put in zip lock bag. Pour in grilling sauce and put into refrigerator to marinate overnight or at least 1 hour.

When cooking time arrives:
Take pork loin out of zip lock and rub in other tablespoon of grilling spice. Transfer to cooking bag and pour in juices from zip lock and add beer and liquid smoke. Put into preheated oven at 300 degrees. You will cook this till internal temp reaches 150 degrees – about 1½ hours. When temp is at 150 take roast out of oven and split open bag, leaving it in cooking pan - pour you barbeque sauce over top and return to oven. Cook for another 15-20 minutes until sauce has formed a nice glaze. Remove from oven and let stand 20-30 minutes before carving.

Your meat can now be served by slicing or pulling. A nice way to serve is to take a loaf of French bread and slice down middle and then into 3” sections. Serve open face with grilled vegetables and plenty of extra sauce.

Tuesday, June 14, 2011

Bonus Father's Day Recipe: Balsamic Fruit with Sweet & Sour Cream Sauce

We just couldn't resist! Everyone wants to treat dad like a king on Father's Day, so we are giving you a bonus recipe this week! Just like our Recipe Wednesday this week, our bonus recipe comes from the Smokin’ with Steve Cooking Class in 2007. By the way, if dad loves to cook, think about giving him one of our cooking classes as a gift this year. Just click on our Classes tab and find the perfect class where he can learn and taste some new foods.

Balsamic Fruit with Sweet & Sour Cream Sauce

4-5 Peaches, Pears, Apples or other favorite fruit (halved and seeded)
2-3 tablespoons Balsamic Vinegar
¼ cup Cinnamon Sugar (1/4 sugar combined with 1 teaspoon cinnamon)
1 cup Whipped topping or fresh whipped cream
4 oz. Creamed Cheese (softened)
¼ cup Honey
2 tablespoons Soy Sauce

Leave peel on fruit. Sprinkle fruit with balsamic vinegar and cinnamon sugar. Place on hot grill flat side down. Cook until fruit yields to slight pressure and remove from heat.

Topping:
Combine honey and soy sauce and set aside. Place cream cheese in bowl and whip until you can combine the whipped topping and keep a good consistency. Stir in the honey, soy mixture. Place a nice dollop on top of fruit and serve.

Friday, May 20, 2011

Cooking Tip: Curly vs Flat Parsley

Have you ever looked at the neatly arranged parsley garnishing yourParsley seasfood dish and wondered, do we eat that?
The answer is yes but what you're really eating is curly leaf parsley. Curly leaf parsley is most often used as a garnish to add color to plates of monochromatic food or to dress up seafood displays.

Italian, or flat leaf, parsley has flat leaves as its name suggests, and many cooks prefer it for its more pronounced flavor, as it contains more essential oils than the curly leaf variety.

While parsley is generally used for its leaves, parsley stems actually contain more flavor. Finely dice them and add to stocks, sauces, sautés and other preparations for added taste and vitamins

Friday, May 13, 2011

Cooking Tip: Cooking with Mussels

Check out this great tip from Chef Joshua Simpson before putting mussels on your menu.

Tuesday, May 3, 2011

Recipe Wednesday: Death by Chocolate

Layers of chocolate cake and chocolate mousse covered with warm chocolate ganache and vanilla Chantilly cream. Treat your mom to this amazing dessert this Mother's Day!

Death by Chocolate

Dark Chocolate Cake
Yield 3 - 9 inch round pans
Ingredients
2 cups boiling water
1 cup unsweetened cocoa powder
2-3/4 cups all-purpose flour
2 tsp baking soda
1/2 tsp baking powder
1/2 tsp salt
1 cup unsalted butter, softened
2-1/4 cups sugar
4 eggs, room temperature
1-1/2 tsp vanilla extract

Chocolate Mousse Filling (recipe below)
Chocolate Ganache (recipe below)
Vanilla Chantilly Cream (recipe below)
Raspberries (recipe below)

Preparation
1. Preheat oven to 350 degrees F.
2. Grease 3 - 9 inch round cake pans, line bottom of pan with parchment and grease.
3. In medium bowl, pour boiling water over cocoa, and whisk until smooth. Let mixture cool.
4. Sift together flour, baking soda, baking powder and salt; set aside.
5. In a large bowl, cream butter and sugar together until light and fluffy.
6. Beat in eggs one at time, then stir in vanilla extract.
7. Add the flour mixture alternately with the cocoa mixture. Spread batter evenly between the 3 prepared pans.
8. Bake in preheated oven for 25 to 30 minutes, use clean straw test. Cool for 10 minutes, turn out on cooling racks and cool completely.
9. Allow to cool on racks.

Chocolate Mousse Filling
Ingredients
3 cups heavy cream
12 oz semisweet chocolate, cut in pieces
Preparation
1. In saucepan, heat 1 cup cream. Add chocolate; whisk to melt. Heat over low heat, about 5 minutes, stirring constantly. Set aside to cool.
2. Whip remaining 2 cups of heavy cream until stiff. Gently fold in chocolate mixture.
3. Pour into bowl. Cover with plastic wrap and vent. Chill.

Chocolate Ganache
Yield: Enough to cover a three layer, 9” cake.
Ingredients
16 oz semisweet or bittersweet chocolate, cut into small pieces
1-1/2 cups heavy whipping cream
2 Tbsp unsalted butter
1 Tbsp cognac or brandy (optional)
Preparation
1. Place the chopped chocolate in a medium sized stainless steel bowl. Set aside.
2. Heat the cream and butter in a medium sized saucepan over medium heat. Bring just to a boil.
3. Immediately pour the boiling cream over the chocolate and allow to stand for 5 minutes. Stir with a whisk until smooth.
4. If desired, add the liqueur.

Vanilla Chantilly Cream
Ingredients
2 cups heavy cream
2 Tbsp sugar
1 tsp vanilla extract

Preparation
1. In a large mixing bowl, beat the heavy cream, sugar, and vanilla extract together on high speed until soft peaks form in the mixture. Chill.

Presentation – large layer cake
1. Chill cake layers and mousse filling in the refrigerator.
2. Brush any loose crumbs from the cake layers.
3. Place one cake on a wire rack, over a shallow pan. Cover with a layer of mousse filling. Place the second cake layer on top, cover with a layer of mousse filling then top with the third cake layer.
4. Crumb coat the cake: Using a cake spatula, cover the sides and top of the cake with about 4 tablespoons ganache. This is called a crumb coat and seals in any cake crumbs so that your cake will have a smooth finish. Refrigerate cake for 15 minutes to set the crumb coat.
5. To cover cake, pour the remaining ganache into the center of the cake. Working quickly, spread with a spatula, using big strokes to push the ganache over the sides of the cake, to create an even coating of ganache. If there are any bare spots on sides of cake, cover with leftover ganache. Strain leftover ganache to remove any crumbs. At this point the leftover ganache can be refrigerated until cold so you can make truffles. Or it can be whipped with an electric hand mixer or whisk and then piped to decorate the cake.
6. Serve garnished with Vanilla Chantilly Cream.

Variation: fill cake with Chocolate Mousse and refrigerate. Keep Chocolate ganache warm and pour over cake slices when served.

Wednesday, April 27, 2011

Recipe Wednesday: Maple-Orange Glazed Ham Steak

Find basting tools.
Maple-Orange Glazed Ham Steak
1 cup orange marmalade
1/4 cup pure maple syrup
1 tablespoon ancho chile powder
3 tablespoons freshly squeezed orange juice
2 ham steaks, each 1-inch thick

Directions

Stir together the preserves, maple syrup, ancho powder and orange juice in a medium bowl.

Heat grill to high. Grill the steaks for 2 to 3 minutes on both sides, keeping the grill covered to heat through. Baste with the glaze every few minutes. Slice and serve. 

Like this recipe? It's from our Spring Brunch Class. Want to learn more about cooking and take home a whole packet of new recipes? Check out our cooking classes.

Monday, April 18, 2011

Tip of the Week: Grilling with Skewers

As grilling season starts to heat up, we thought we'd toss out a few ideas for grilling with skewers.  
 
  • Soak wooden skewers in water for 30 minutes before using them so they won't burn during cooking.
  • If you prefer metal skewers, which have a long life, use square or twisted types, which will hold the food better than round ones.
  • To keep food from slipping off during cooking and turning, use two parallel skewers rather than a single skewer.
  • If you're using a wooden skewer, as you thread the food move the pieces close together, with no space showing.
  • If the skewer is metal, you can leave small spaces between the pieces.
  • When using foods with different cooking times (such as shrimp and beef), don't combine them on the same skewer. Instead, make skewers of just shrimp or just beef, start cooking the beef first, and then combine them on a serving platter.
  • Cut meats and veggies to the same size. One- to 1½-inch inch cubes work well.
  • Group foods with similar cooking times together. While a skewer of bell peppers, cherry tomatoes and chicken looks appetizing, those tomatoes may turn to mush--or worse, slither off the skewer--by the time the chicken is done.
  • To stabilize round or hard-to-skewer foods like tomatoes and shrimp, use two skewers parallel to each other.